
For all of you, who asked us how to send out the digital Christmas card, you’ve created with DesignPro, we’ve put together a short step-by-step guide on how to prepare the email with the holiday greetings to be sent out to all your clients using Outlook, Thunderbird or MailChimp.
Outlook
If you are using Outlook to manage your business emails, below you can see how you can send a digital Christmas card to your partners and clients via Outlook:
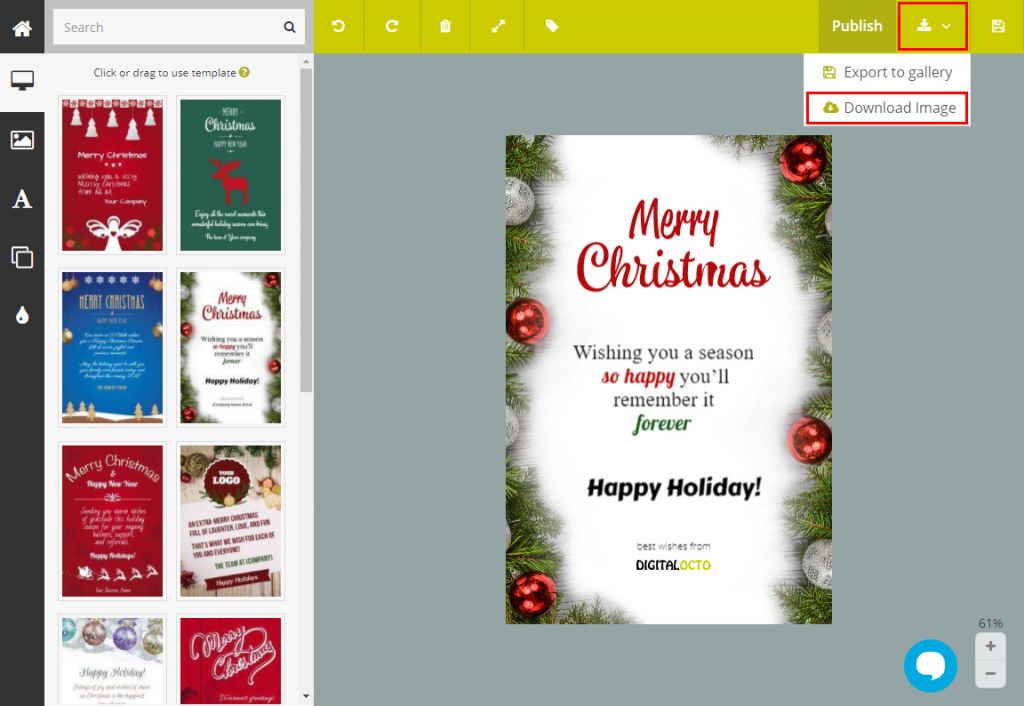
- Download your Christmas card from DesignPro to your computer.

- Compose a new email in Outlook
- Add the Holiday card by selecting “Insert” -> “Attach File”
- Navigate to your download folder (or where your browser download files) and select the card you downloaded form DesignPro
- Preview the email and add a subject. Additionally you can add a small text section above the card with a nice message.
- The final step is to add all your partners/clients as recipients and subject.
- You can send the card personally to each client and personalize each email accordingly
- You can send out bulk to all your customers. In order to do that add your own email as recipient and then add all your clients’ emails as BCC, separated by a comma. This way your customers won’t see the emails of your other clients.


Thunderbird
- Download your Christmas card from DesignPro to your computer.
- In Thunderbird compose a new email
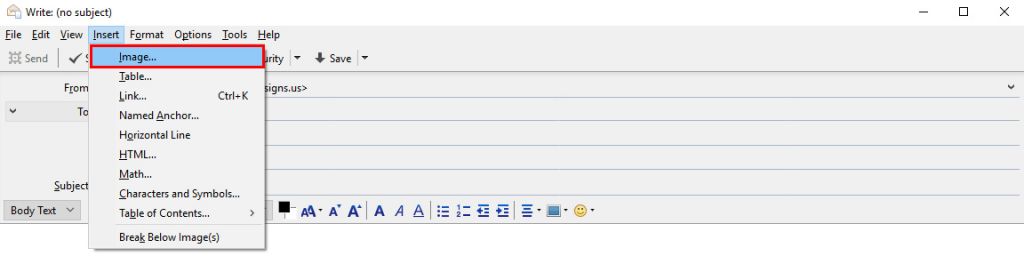
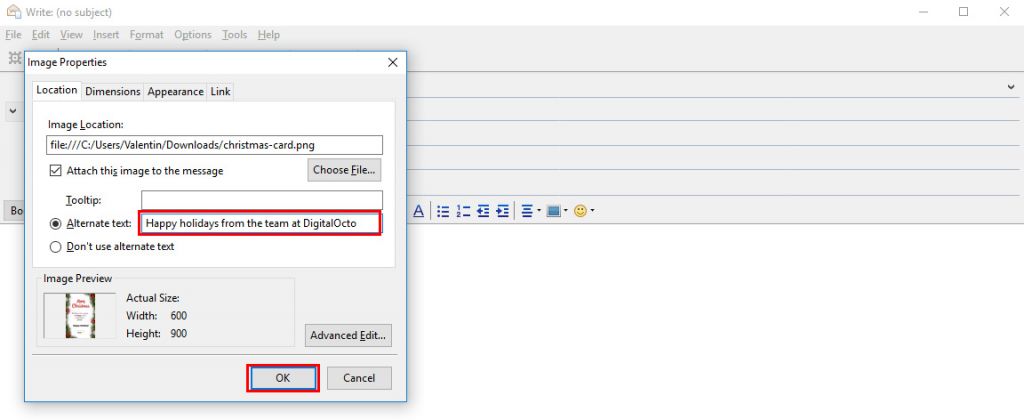
- Select “insert” -> “Image” to embed the Christmas card
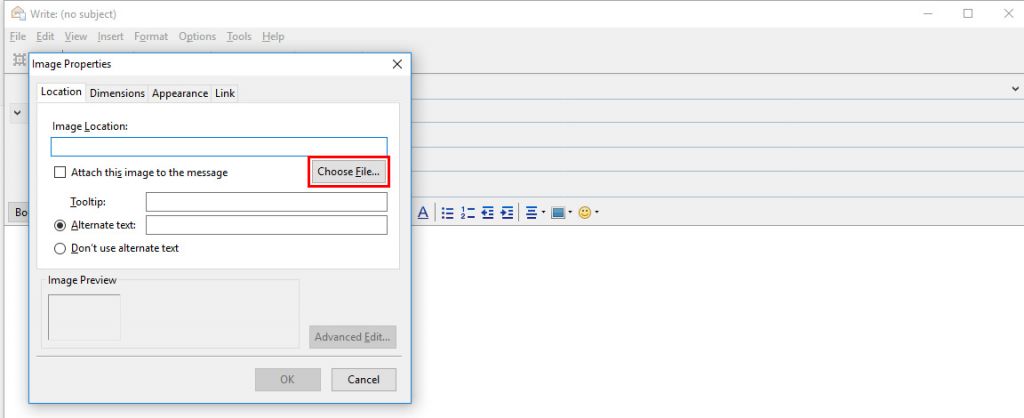
- Now select “Choose File…” and browse to your download folder (or where your browser download files)
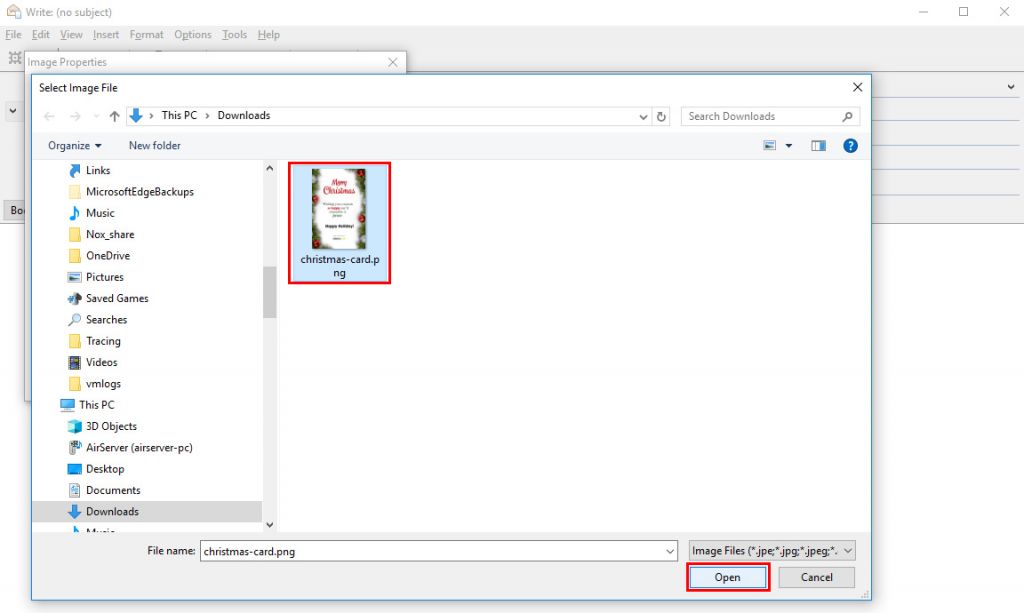
- Select the holiday card you just downloaded from DesignPro and select “Open”
- Next you can add an Alternative text for the customers who don`t support images. You can type something short like “Happy holidays from the team at {Your Company Name}”. Finally click “OK”
- The final step is to add all your customers as recipients and subject.
- Send the card personally to each client
- Send in bulk to all your customers. In order to do that add your own email as recipient and then add all your clients’ emails as BCC, separated by a comma. This way your customers wont see the emails of your other clients.
MailChimp
- Login or Create a free account (up to 2000 subscribers) at MailChimpoptional – if you are a new user you will have to crate a new list of subscribers and add the emails of all your customers
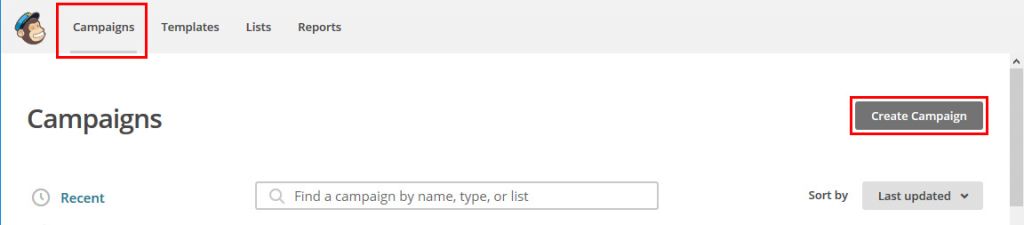
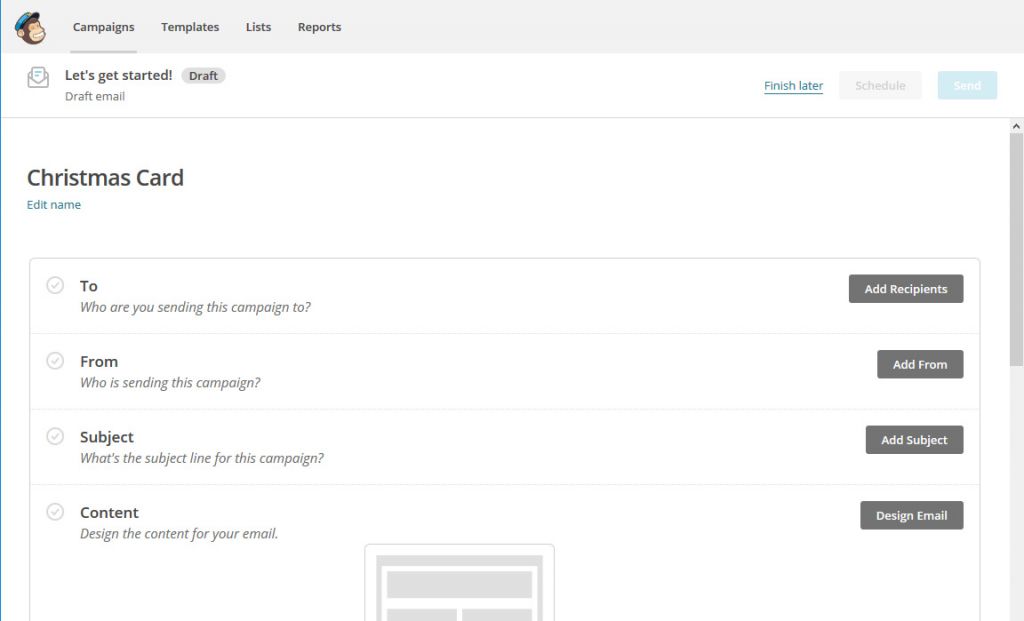
- Create a new campaign
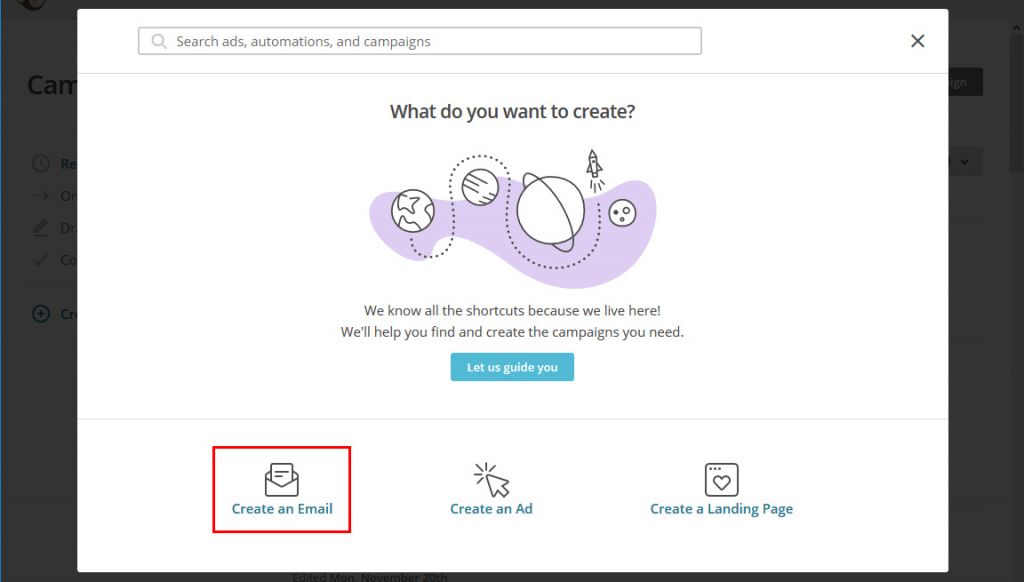
- Choose to create an Email campaign
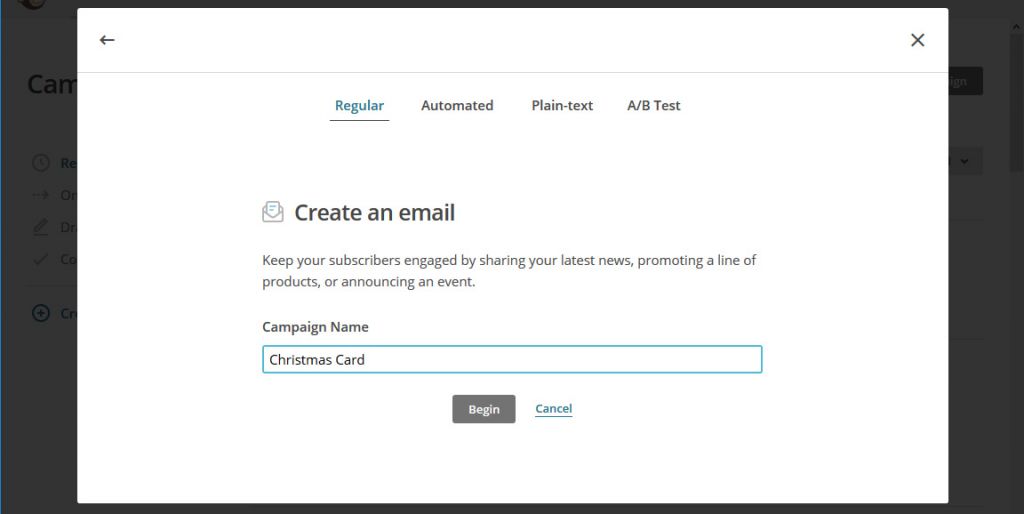
- Add a name for your campaign (this won`t be visible to your clients)
- Now you need to select the list of recipients you are sending the card to and add a Subject. After that you need to create the email. Select “Design Email”
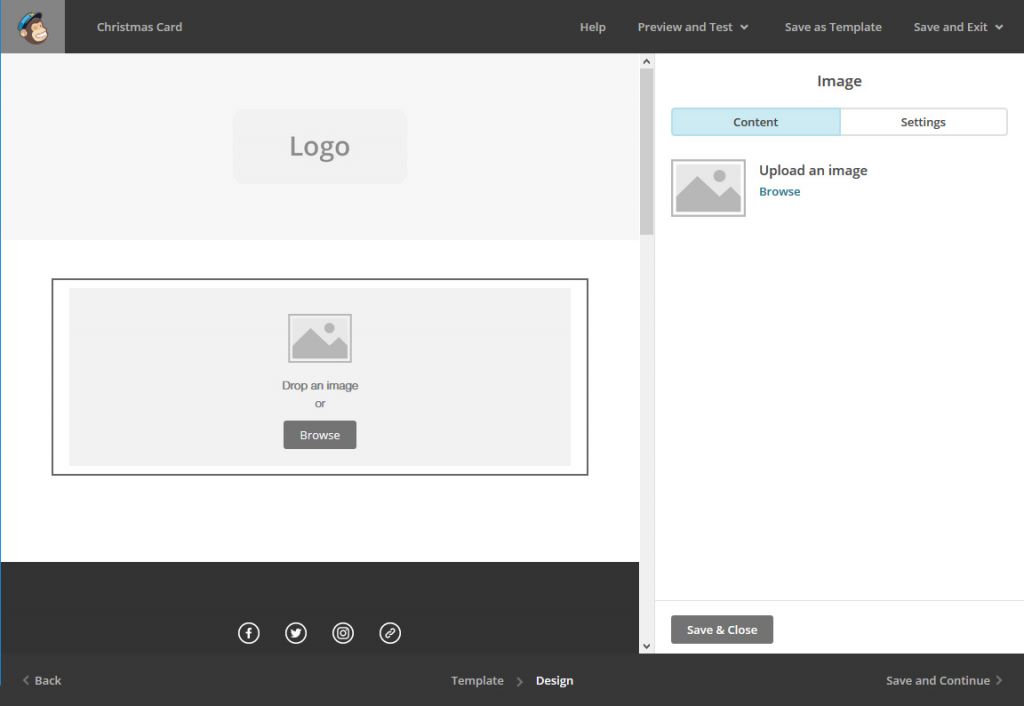
- You have to select a starting template. Any of the templates can do. For this example we are going to use the “Educate” template.
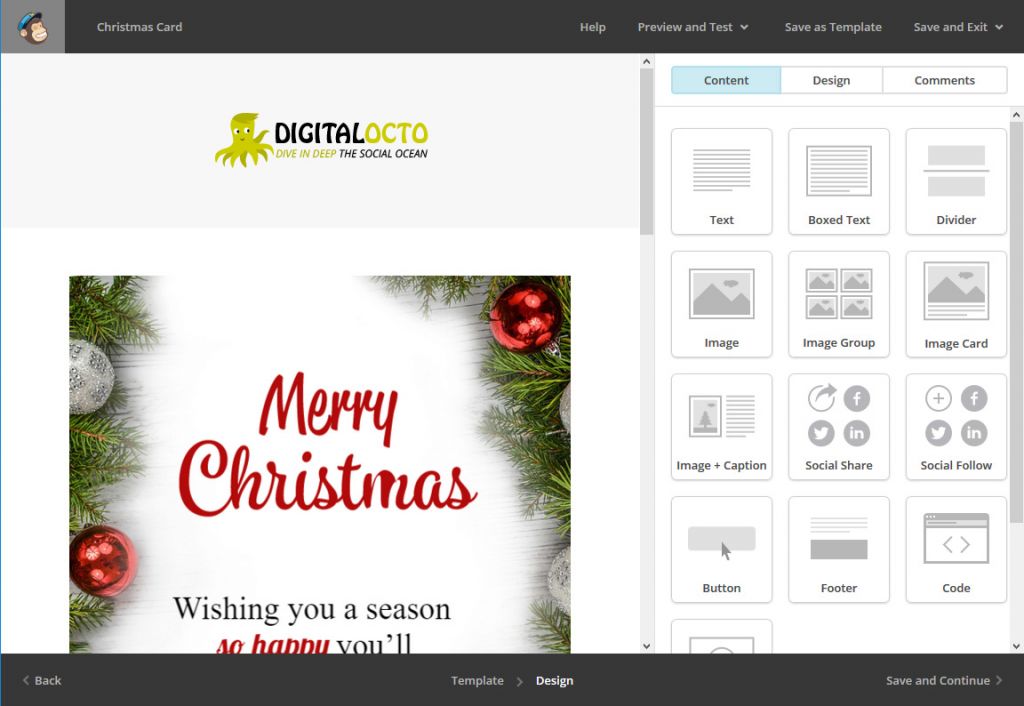
- Now you can use the MailChimp visual editor to remove all the section you don`t need and leave only an Image widget where you will add the Christmas card, as well as a section for your company logo. Additionally you can add a small text section with a nice text message.
- Next you need to upload the card to MailChimp
- Do a final review. You can also send a test email to your inbox to see the mailing before sending it out.
- You are ready to send it out, or schedule it to go out exactly on Christmas 🙂


Social Media
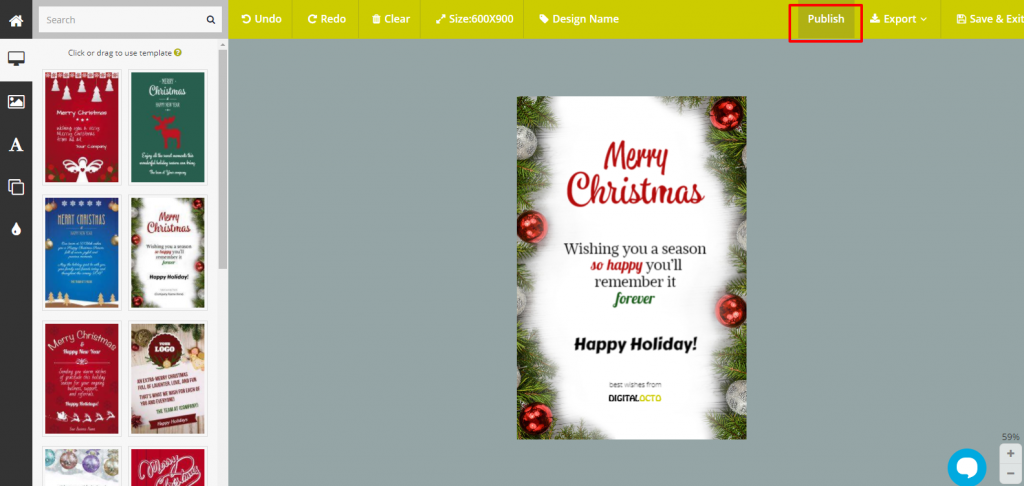
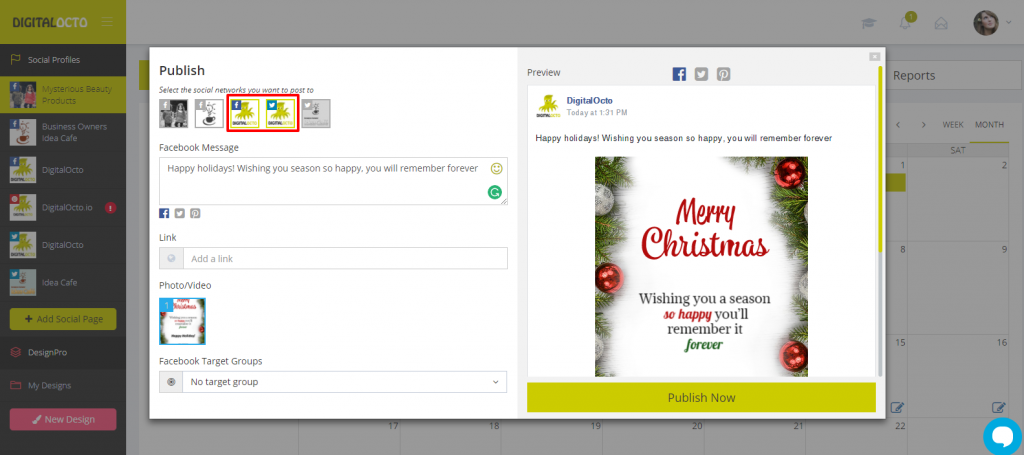
Of course, do not forget that you can share the same card to your social media accounts to greet your fans and followers as well. With SmartPublisher, it’s fast and easy. Prepare your card in DesignPro and then Click on Publish and you will be sent to a widget where you can select the social media profiles, you want to post to, customize your message and schedule it to go live at the right moment.
Hope you find this guide useful.